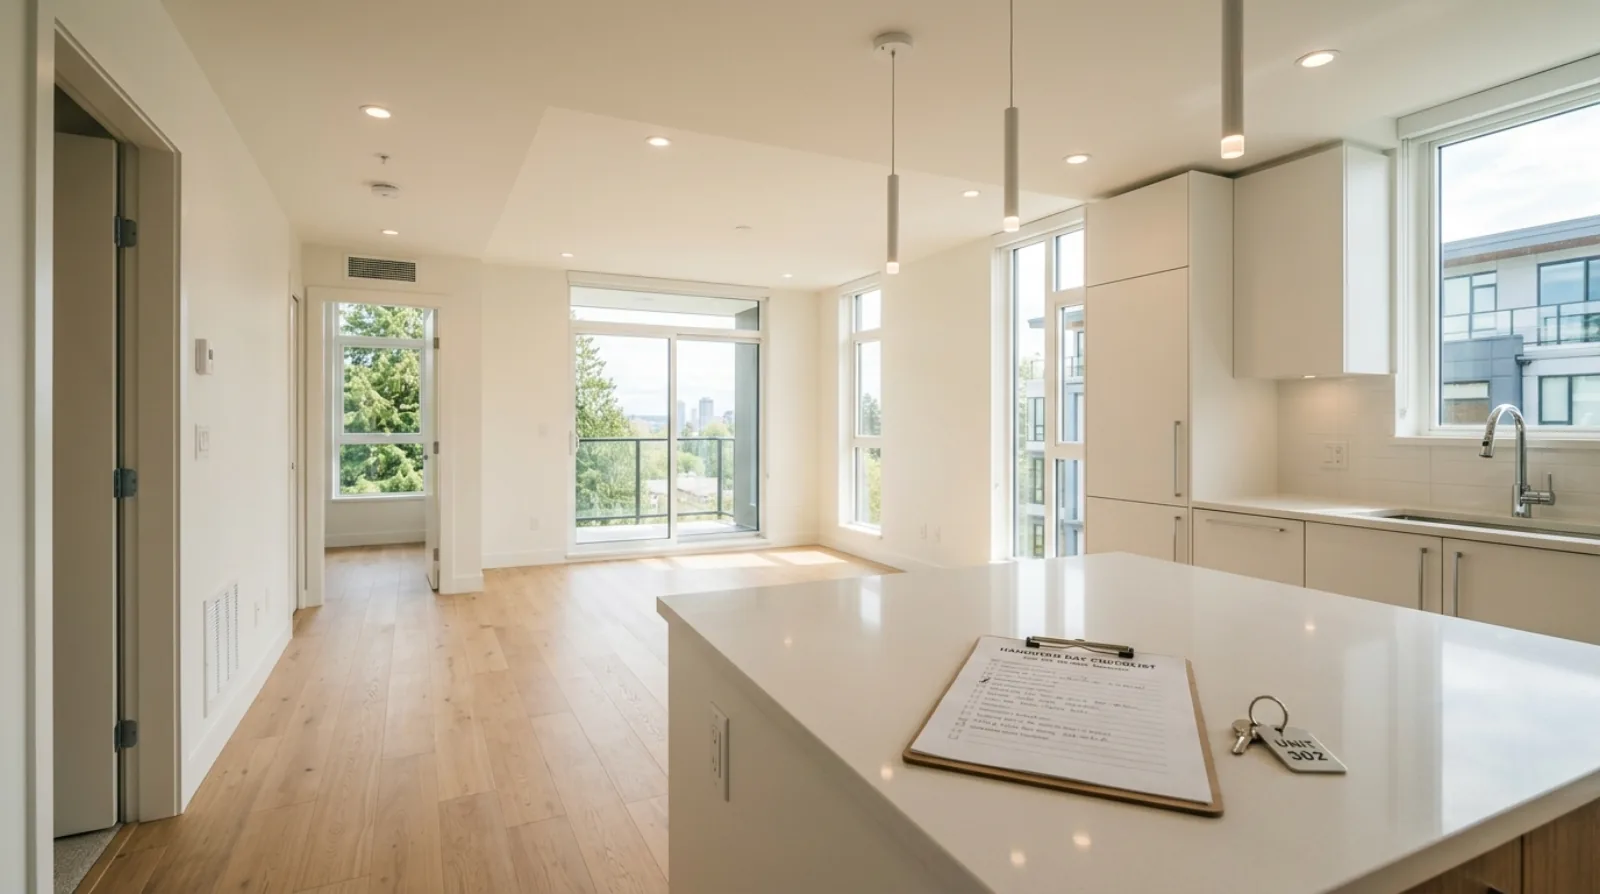
Pre-Delivery Inspection for a New Multiplex (2026)
Your guide to the pre-delivery inspection (PDI): the walkthrough of a brand-new Vancouver multiplex before keys, the deficiency list, and how the 2-5-10 warranty fits.
By MultiLiving Editorial · July 22, 2026
Questions about this guide: Gary Paul, REALTOR®, Personal Real Estate Corporation, Grand Central Realty, 778-828-7476
The day you get the keys to a brand-new multiplex home is a big one. Before the developer's team hands them over, you get to do something that matters more than most buyers expect: you walk through the finished unit, room by room, and write down anything that is not right. A scratch on the floor. A cabinet door that does not close flush. A missing kitchen handle. That walkthrough has a name — the pre-delivery inspection, or PDI — and this is your guide to doing it well.
We wrote this for someone buying one unit inside a new duplex, triplex, or fourplex in Greater Vancouver, not for anyone in the trades. You do not need to know anything technical. You need sharp eyes, a bit of patience, and a plan. That is all a good PDI takes.
What a pre-delivery inspection actually is
A pre-delivery inspection is your walkthrough of the finished home with the developer's representative, done shortly before or on the day you take possession. You go through every room together and note anything that needs fixing on a shared list, usually called a deficiency list or a completion certificate. Both sides sign it. That signed list becomes the record of what the team agreed to repair.
In BC this walkthrough is tied to your home warranty. According to BC Housing, the completion certificate must be signed before you take possession, and it lists the possession date, which sets the start date for your warranty coverage. The walkthrough checklist, BC Housing says, lets you tell the team of any items that need to be addressed and helps the warranty provider identify all outstanding items that still need repair on the possession date. So the PDI is not just a nice-to-have. It is a formal step that puts your concerns on the record and starts the clock on your coverage.
One thing to keep clear from the start: this is a finish check, not a structural test. You are looking at what you can see and touch — surfaces, fixtures, doors, appliances — not what is behind the walls. The things you cannot see are what the warranty is for, and we come back to that below.
When it happens in the buying timeline
If you bought pre-sale, the PDI lands near the very end of a long wait. You put down a deposit, watched the home get built over months or years, and now the team is ready to hand it over. The PDI usually happens a few days before your completion date, or on the same day, so there is a little time to fix small things before you move in. If you are buying a finished, move-in-ready unit, the PDI is often booked in the last week before closing.
The developer's team schedules it and tells you the date. You do not have to arrange it yourself. What you do have to do is show up ready. Do not treat it as a quick look-around. Give yourself an hour or more, and do not book anything tight right after it — you want time to be thorough, not rushed. For a fuller picture of where this fits, our pre-sale timeline from deposit to keys walks through every stage before this one.
How to prepare before you walk in
The buyers who get the most out of a PDI are the ones who came ready. A little prep turns a vague stroll into a real inspection. Here is what to bring and set up beforehand:
- Your phone, charged, for photos and video of anything you flag.
- A roll of painter's tape or small sticky notes to mark a spot so the team can find it again later.
- Your contract and any finishing schedule or spec sheet, so you can check that what you were promised is what you got — the countertop, the flooring, the appliance brands.
- A phone charger or a small night light to test that the electrical outlets actually have power.
- Comfortable clothes you do not mind kneeling in, because a lot of what you check is low to the ground.
- A written checklist (the one below works) so nothing gets skipped when you are tired near the end.
If you can, bring a second person. A partner, a parent, a friend — anyone with a fresh set of eyes. Two people catch more than one, and one of you can write while the other looks. Some buyers hire a private inspector to attend the PDI with them, and we cover whether that is worth it further down.
A room-by-room walkthrough checklist
Work through the home the same way every time so you do not lose your place. Start at the front door and move through in a loop. Look high, look low, open everything, and run everything. Here is a practical order.
Entry and hallways
- Front door opens, closes, locks, and the key works smoothly.
- No scratches or dents on the door or frame.
- Light switches all work and match the right fixtures.
- Floors are unmarked and sit flat — no lifting edges or gaps at the baseboards.
Kitchen
- Every cabinet and drawer opens, closes, and lines up evenly with its neighbours.
- Countertop has no chips, cracks, or stains, and the seams are tight.
- Run the tap — hot and cold both work, water drains, and there is no drip under the sink.
- Turn on each appliance: fridge cools, oven heats, stovetop burners light, dishwasher and range hood run.
- Appliance brands and models match what your contract promised.
- Backsplash tiles are even, with clean grout and no cracks.
Bathrooms
- Toilet flushes and refills, and does not rock when you push it side to side.
- Shower and tub taps run hot and cold, and water drains without pooling.
- No cracked or chipped tiles; caulking around the tub and shower is neat and complete.
- Exhaust fan runs and pulls air — hold a tissue up to check.
- Mirror, towel bars, and vanity are secure and undamaged.
Bedrooms and living areas
- Every window opens, closes, and locks, with no cracked glass or scratched frames.
- Closet doors slide or swing freely and sit straight.
- Walls and ceilings are free of paint drips, roller marks, dents, or nail pops.
- Test each outlet with your charger or a night light.
- Heating and cooling turn on and reach the room — ask how the system works before you leave.
Outdoor space, parking, and storage
- Your deck, patio, or balcony surface is clean and the railing is solid.
- Any private outdoor tap runs and shuts off fully.
- Your parking stall and storage locker are the ones on your paperwork, and both are clean and undamaged.
- Garage door, if you have one, opens and closes smoothly.
Common deficiencies to look for in a new unit
Almost every new home has a handful of small flaws at handover. That is normal. Finding them is the whole point — better now, on a signed list, than after you have moved in. The most common ones are cosmetic and easy to miss if you are only glancing:
- Paint drips, uneven coverage, or scuff marks along walls and trim.
- Scratches and scuffs on floors, especially near doorways and under windows.
- Cabinet and closet doors that do not line up or close flush.
- Chipped or cracked tiles, and grout or caulking that is missing or messy.
- Windows or doors that stick, do not lock, or have a scratched frame.
- Missing hardware — a drawer pull, a towel bar, a switch plate.
- An appliance that does not turn on, or the wrong model from what you were promised.
- Outlets with no power, or light switches wired to the wrong fixture.
In our experience, floors and paint are where the most items show up, simply because they cover the most surface area. Do not rush past them. Get low, tilt your head to catch the light on the floor, and run your eye along every wall. And do not feel awkward writing down a small scratch. A short, honest list of real items is far more useful than a polite one that skips things you will resent later.
How to document what you find
A deficiency only counts if it is written down and both sides agree it is there. Say it out loud, watch the representative note it, and then make your own record too. For each item:
- Photograph it, and take one wider shot showing which room it is in.
- Mark the spot with a small piece of tape so it can be found again.
- Confirm it is written on the shared deficiency list or completion certificate.
- Keep your own copy of that signed list before you leave — a photo of every page is enough.
Be specific in the wording. "Scratch on floor, front-left corner of the second bedroom, near the window" is far better than "floor scratched." A precise note is easy to find and hard to argue about later. If the representative pushes back on something you can clearly see, stay calm and ask that it be listed anyway with a note. Getting it on paper does not commit anyone to anything except taking a proper look.
What happens after the walkthrough
Once the list is signed, the developer's team works through the items and fixes them, usually within an agreed window after you move in. Small cosmetic fixes — a touch-up of paint, a re-hung door, a new drawer pull — often get done in the first few weeks. You should get a chance to confirm each one is actually resolved.
Anything that turns up after you have the keys, or anything larger, moves into your home warranty. In BC, that is the 2-5-10 warranty, a form of insurance required under the province's Homeowner Protection Act. Per BC Housing, the coverage runs in three tiers: 2 years on materials and labour, 5 years on the building envelope (the parts that keep water out), and 10 years on the structure. Within that first 2-year tier there are shorter windows — BC Housing lists 12 months for your own unit, 15 months for the shared common property in a strata building, and 24 months for the major systems like electrical, plumbing, heating, and cooling, plus exterior cladding, windows, and doors. For a strata unit, BC Housing sets the maximum claim at the lesser of the first owner's purchase price or $100,000.
We keep the warranty short here on purpose, because it deserves its own read. Our full guide to BC's 2-5-10 home warranty for multiplex buyers covers what each tier means and how to file a claim. For the PDI, the point is simple: the walkthrough handles the visible finish items today, and the warranty stands behind everything else for years after.
How a PDI differs from a paid home inspection
These two things sound alike and get mixed up all the time, but they are not the same, and knowing the difference saves you money and worry.
A pre-delivery inspection is a finish check on a brand-new home, run with the developer's team, focused on cosmetic and functional items you can see and operate. It is free, it is standard, and it feeds your deficiency list. A paid home inspection is a separate service where you hire an independent inspector — often for a resale home — to assess the condition of things a buyer cannot easily judge alone. The two answer different questions. The PDI asks "is this new home finished properly?" A home inspection asks "what is the real condition of this home?"
If you want the full picture on the paid kind, we have written about what a home inspection looks like for a Vancouver multiplex, and a separate resale multiplex inspection checklist for buyers of older units. For a brand-new home, the PDI plus the 2-5-10 warranty usually does the job — though some buyers still bring a private inspector along, which we cover in the questions below.
What this comes down to
- The PDI is your formal walkthrough of a brand-new multiplex home with the developer's team, done just before you take the keys.
- In BC it is tied to your warranty — the signed completion certificate sets your possession date and your coverage start, per BC Housing.
- Come prepared: phone, tape, your contract, and a checklist. Bring a second set of eyes if you can.
- Go room by room, open and run everything, and look hardest at floors, paint, doors, and appliances.
- Write every real item on the shared list, photograph it, and keep your own signed copy.
- The list handles the visible finish today; the 2-5-10 warranty stands behind the rest for years.
A good pre-delivery inspection is one of the few moments in the whole buying process where slowing down pays you back directly. If you are shopping for a brand-new duplex, triplex, or fourplex in Greater Vancouver and want someone in your corner who knows what to look for at handover, talk to our team or browse the multiplex homes we have for sale. We are happy to walk you through what to expect before your keys day arrives.
Frequently asked questions
What is a pre-delivery inspection?
A pre-delivery inspection, or PDI, is your walkthrough of a finished brand-new home with the developer's team, done shortly before you take possession. Together you note any flaws — scratches, paint, faulty fixtures — on a signed deficiency list so they can be fixed.
When does the PDI happen?
It usually happens a few days before your completion date or on the same day, so there is a little time to fix small items before you move in. The developer's team books it and gives you the date; you just need to show up prepared and unhurried.
What if I find problems at the walkthrough?
That is exactly what the walkthrough is for. You list each problem on the shared deficiency list, both sides sign it, and the developer's team fixes the items within an agreed window. Photograph everything and keep your own copy of the signed list.
Can I refuse the keys if there are deficiencies?
Small cosmetic items normally do not stop you from taking possession — they go on the list to be fixed after. If something major makes the home unsafe or unlivable, speak up before signing anything and get legal advice, since your contract and closing date are involved.
Is a PDI the same as a home inspection?
No. A PDI is a free finish check on a new home run with the developer's team, focused on visible and functional items. A paid home inspection is an independent service, often for resale homes, that assesses the deeper condition of a property. They answer different questions.
Should I hire a professional for the PDI?
You do not have to, and most buyers manage well with a checklist and a second person. Some still hire a private inspector to attend, which can be worth it for peace of mind on a large purchase. It is optional, not required.
How long does a pre-delivery inspection take?
Give it at least an hour, and longer for a larger unit. Do not book anything tight right after. The value comes from being thorough — checking every room, opening every door, and running every fixture — so rushing defeats the purpose.
What should I bring to the PDI?
Bring your phone for photos, painter's tape or sticky notes to mark spots, your contract and any finishing schedule, and a charger to test outlets. A written checklist keeps you on track, and comfortable clothes help when you are checking things low to the ground.
What are the most common deficiencies in a new multiplex unit?
Cosmetic ones lead the list: paint drips and scuffs, scratches on floors, cabinet doors that do not line up, chipped tiles, missing hardware, and sticky windows. Occasionally an appliance does not turn on or an outlet has no power. Most are minor and quick to fix.
Does the PDI start my home warranty?
Yes, indirectly. Per BC Housing, the completion certificate signed at the walkthrough records your possession date, and that date sets the start of your 2-5-10 warranty coverage. So the PDI is the moment your warranty clock begins.
What does the BC 2-5-10 warranty cover?
Per BC Housing, it covers materials and labour for 2 years, the building envelope (the parts keeping water out) for 5 years, and the structure for 10 years. Our full 2-5-10 guide breaks down each tier and how to make a claim.
Who fixes the deficiencies after the walkthrough?
The developer's team is responsible for repairing the items on your signed list, usually within an agreed window after you take possession. You should get a chance to confirm each fix is actually done. Anything found later moves into your home warranty.
What if a deficiency is not fixed on time?
Keep your signed deficiency list and your photos, and follow up in writing with the developer's team. If an item is covered by the 2-5-10 warranty and stays unresolved, you can raise a claim with your warranty provider within the coverage window.
Can I do a PDI on a pre-sale home I bought years ago?
Yes. If you bought pre-sale, the PDI is the standard final step near completion, no matter how long ago you signed. Bring your original contract and finishing schedule so you can check that the finished home matches what you were promised.
Do I need to test appliances and outlets myself?
Yes, and it is worth the effort. Turn on the oven, stovetop, dishwasher, and range hood, run every tap, and plug a charger into each outlet. A fixture that looks fine can still be dead, and the walkthrough is your chance to catch it.